Mastering Night Photography: From Stars to City Lights
Night photography opens up a magical world that's invisible to the naked eye. Whether you're capturing the vastness of the Milky Way, the energy of city lights, or creating artistic light paintings, photographing after dark presents unique challenges and incredible creative opportunities.
Essential Equipment for Night Photography
Successful night photography requires some specialized equipment:
- Camera with Good High-ISO Performance: Modern cameras with full-frame sensors typically perform better in low light, but many crop-sensor cameras are also capable of excellent night photography.
- Fast Lenses: Wide-aperture lenses (f/2.8 or wider) allow more light to reach the sensor. For astrophotography, wide-angle lenses (14-24mm) are ideal for capturing large portions of the night sky.
- Sturdy Tripod: Essential for the long exposures required in night photography. Invest in a quality tripod that can hold your gear steady even in light wind.
- Remote Shutter Release: Prevents camera shake when triggering the shutter. Many cameras also offer smartphone connectivity as an alternative.
- Extra Batteries: Long exposures and cold night temperatures drain batteries quickly. Always carry spares.
- Headlamp or Flashlight: Essential for seeing your camera controls and navigating safely. Red-light options preserve your night vision.
- Warm Clothing: Night photography often means standing still for extended periods, sometimes in remote locations. Dress appropriately for the conditions.
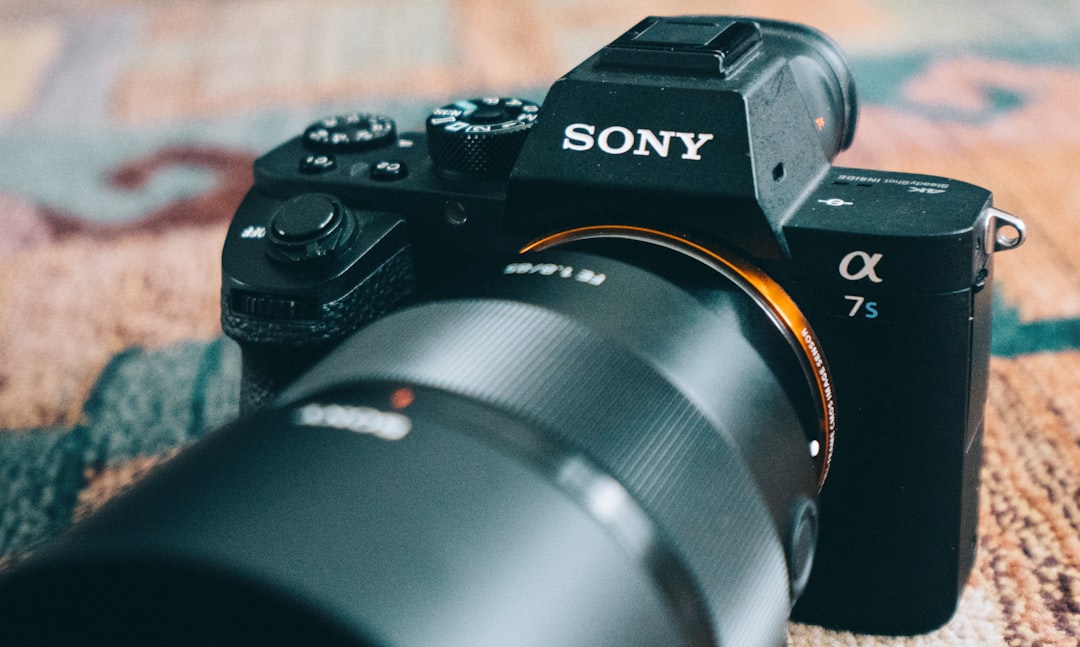
Essential equipment setup for night photography
Camera Settings for Night Photography
Night photography requires specific camera settings to capture the limited available light:
Astrophotography Settings
- Shooting Mode: Manual mode gives you complete control.
- File Format: Always shoot in RAW for maximum flexibility in post-processing.
- Aperture: Use the widest aperture your lens offers (f/1.4 to f/2.8) to gather maximum light.
- Shutter Speed: To avoid star trails (unless that's your goal), use the "500 Rule" - divide 500 by your lens's focal length to get the maximum exposure time in seconds before stars appear to move. For example, with a 24mm lens: 500 ÷ 24 = 20.8 seconds. For sharper stars on high-resolution cameras, consider the more conservative "300 Rule" instead.
- ISO: Start around ISO 1600-3200 and adjust based on your camera's capabilities and the darkness of your location. Test different settings to find the best balance between capturing enough light and managing noise.
- White Balance: Set to 3800-4000K for a natural-looking sky, or experiment with different settings for creative effects.
- Focus: Autofocus won't work effectively in the dark. Switch to manual focus and set your lens to infinity. Use live view zoomed in on a bright star or distant light to fine-tune focus.
Urban Night Photography Settings
- Aperture: You can often use smaller apertures (f/8-f/11) as city lights provide more illumination.
- Shutter Speed: Varies widely depending on the scene brightness. Start with 1-5 seconds and adjust as needed.
- ISO: Keep as low as possible (100-800) to minimize noise, as urban environments usually provide more light.
- White Balance: Auto white balance often struggles with mixed lighting. Consider using a preset (tungsten for most city lights) or a custom white balance.
Planning Your Night Photography Shoot
Preparation is key to successful night photography:
- Research Locations: For astrophotography, find areas with minimal light pollution. Dark site finder websites and apps can help identify suitable locations.
- Check Astronomical Conditions: Apps like PhotoPills, Stellarium, or Star Walk can show you the position of the Milky Way, moon phases, and astronomical events.
- Weather Monitoring: Clear skies are essential for astrophotography. Check weather forecasts and satellite imagery.
- Scout During Daylight: Whenever possible, visit your location during the day to identify compositions and potential hazards.
- Consider Safety: Always inform someone of your plans when photographing at night, especially in remote areas. Consider bringing a photography partner.
- Permissions and Regulations: Some locations may require permits for night photography or have restricted access after dark.
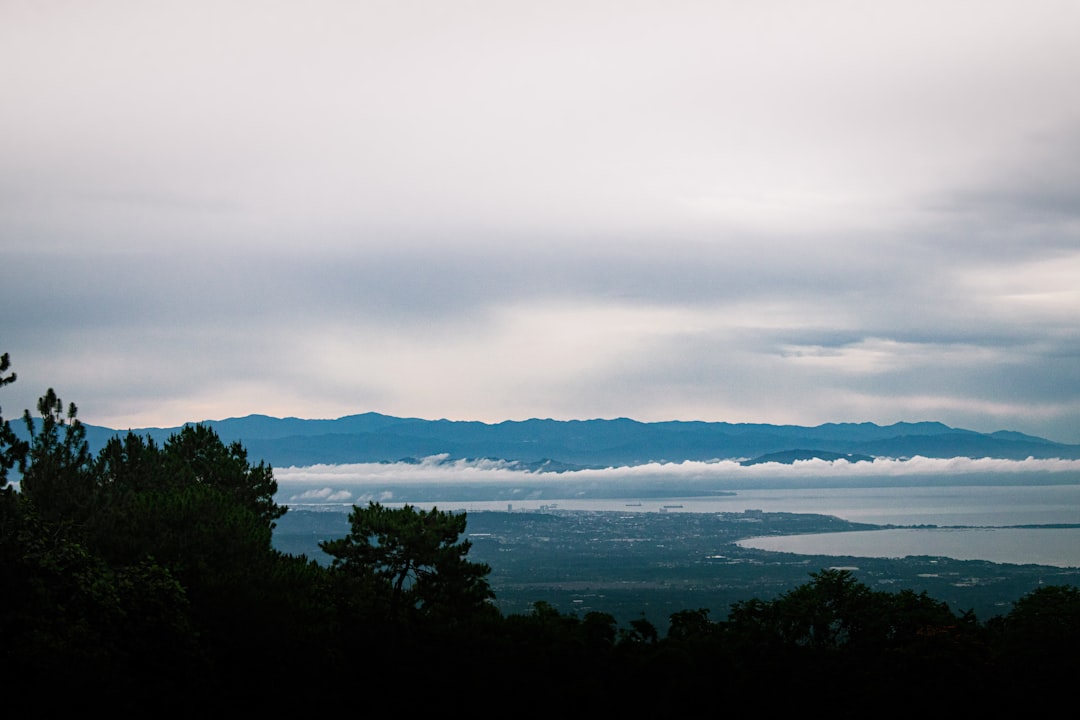
Capturing the Milky Way requires planning and the right conditions
Specialized Night Photography Techniques
Star Trails
Star trails capture the apparent movement of stars due to Earth's rotation, creating circular patterns around the celestial poles:
- Single Long Exposure Method: Use a very long exposure (30+ minutes) with a low ISO (100-400) and medium aperture (f/5.6-f/8). This method can result in more noise and is affected by ambient light changes.
- Stacked Images Method: Take multiple shorter exposures (20-30 seconds each) continuously over a period of time, then stack them in post-processing software like StarStaX. This method provides more flexibility and typically results in cleaner images.
- Composition: Include interesting foreground elements and consider the direction of rotation. In the northern hemisphere, stars rotate around Polaris (North Star); in the southern hemisphere, they rotate around the South Celestial Pole.
Milky Way Photography
Capturing our galaxy requires dark skies and proper timing:
- Timing: The Milky Way core (the brightest, most photogenic part) is visible from late March to early October in the northern hemisphere, with peak visibility during summer months.
- Moon Phase: Plan your shoot during a new moon or when the moon is below the horizon for the darkest skies.
- Composition: Combine the Milky Way with interesting foreground elements to create depth and scale.
- Advanced Technique: Consider "blue hour blending" - taking one image of the foreground during blue hour (just after sunset) and another of the sky when it's fully dark, then blending them in post-processing.
Urban Night Photography
Cities offer endless opportunities for night photography:
- Blue Hour: The period just after sunset provides a beautiful blue sky that balances well with artificial lighting.
- Traffic Trails: Use long exposures (5-30 seconds) to capture the light trails from moving vehicles.
- Reflections: Wet streets, rivers, and harbors create beautiful reflections of city lights.
- Architecture: Buildings illuminated at night often reveal interesting details and textures that aren't apparent during daylight.
- HDR Techniques: Consider bracketing exposures to handle the extreme dynamic range of urban night scenes.

City lights and traffic trails create dynamic urban night photographs
Light Painting
Light painting involves using portable light sources to selectively illuminate or create patterns during a long exposure:
- Subject Illumination: Use flashlights, LED panels, or even smartphone lights to illuminate foreground subjects during a long exposure.
- Light Drawing: Create patterns, words, or symbols by moving lights within the frame during exposure.
- Tools: Various light sources create different effects. Experiment with flashlights, glow sticks, steel wool (use with extreme caution), LED strips, and specialized light painting tools.
- Settings: Use bulb mode for complete control over exposure duration. Start with ISO 100-400 and an aperture around f/8.
Post-Processing Night Photography
Night photography often requires specific post-processing techniques:
- Noise Reduction: Apply luminance and color noise reduction carefully to maintain detail.
- White Balance Adjustment: Fine-tune white balance to achieve natural-looking colors in the sky.
- Contrast and Clarity: Enhance the structure of stars and details that may appear flat in the original capture.
- Selective Adjustments: Use masks and adjustment brushes to process the sky and foreground separately.
- Star Enhancement: Techniques like the "Orton Effect" can make stars appear more prominent.
- Light Pollution Removal: Use gradients or specialized tools to reduce the orange/yellow glow from artificial lighting.
Before and after post-processing of a night photograph
Common Challenges and Solutions
Night photography presents unique challenges:
- Finding Focus in the Dark: Use live view zoomed in on a bright star or distant light, or pre-focus during daylight and tape the focus ring.
- Light Pollution: Use light pollution filters or seek out darker locations. Light pollution maps can help identify optimal locations.
- Battery Life: Cold temperatures drain batteries quickly. Keep spare batteries in an inside pocket to stay warm.
- Dew Formation: Lens heaters or hand warmers secured around the lens can prevent condensation.
- Balance Between Noise and Exposure: Consider using image stacking techniques to reduce noise while maintaining sufficient exposure.
Safety Considerations
Night photography often takes place in challenging environments:
- Always inform someone of your location and expected return time.
- Bring a fully charged phone, portable charger, and first aid kit.
- Use proper lighting for navigation but be mindful of light pollution for your shots.
- Research locations thoroughly and be aware of potential hazards like cliffs, wildlife, or tides.
- In urban environments, be aware of your surroundings and avoid dangerous areas, especially when carrying valuable equipment.
Conclusion
Night photography requires technical knowledge, planning, and patience, but the results can be truly magical. The night sky and urban landscapes after dark reveal worlds that many people never see with their own eyes.
Start with simple compositions and gradually build your skills. Each night photography session is a learning experience that will help you improve your technique and develop your unique night photography style.
Remember that night photography often involves trial and error. Don't be discouraged by initial results that don't meet your expectations. With practice and persistence, you'll soon be creating stunning images that capture the mystery and beauty of the night.

Related Posts
Ultimate Landscape Photography Guide
Learn how to capture breathtaking landscapes in any lighting condition...
Essential Camera Gear Every Photographer Needs
Discover the essential equipment every photographer should have in their bag...
Efficient Photo Editing Workflow
Streamline your post-processing with this step-by-step workflow guide...
Comments (3)
Maya P.
March 25, 2023I tried astrophotography for the first time last week using these tips, and I'm amazed at what my camera could capture! The focus tips were especially helpful - I never would have figured that out on my own. Looking forward to trying star trails next.
Ethan B.
March 28, 2023Question about light painting - what type of flashlight do you recommend? I've tried with my regular household flashlight but the beam seems too harsh and uneven.
David Wilson
March 29, 2023@Ethan - Great question! For light painting, I recommend flashlights with adjustable beam width and brightness. Look for ones with a focusing mechanism that can go from flood to spot. LED flashlights in the 300-500 lumen range work well. To soften harsh light, try covering the flashlight with a piece of white tissue or a small diffuser. Some photographers use flashlights with colored gels for creative effects. The ProtoMachines LED2 is designed specifically for light painting but is expensive - a good starting point is something like the ThruNite TN12 or Fenix PD35, which are versatile and reasonably priced.
Leave a Comment